Author Archives for simplifiedbystacie

Simply Homemade: O’Henry Bars

I know, I know…most of you think these bars are called scotcheroos. But that name is simply just not accurate for this recipe, sorry to disappoint you all! These are O’Henry Bars and you are only allowed to make and/or eat them if you call them by their real name 😉

These have been a staple snack and family favorite for as long as I can remember. From church bake sales to potlucks to after school snacks, these bars are always a hit! They don’t have to stay refrigerated, they last a couple days (if they aren’t devoured immediately), and they transport easily. Bonus: these bars only require a couple ingredients to make and nothing crazy expensive either! Honestly, I can’t begin to tell you how many batches of these have been made by my family. Or, for that matter, how many servings I’ve consumed in my lifetime… but, let’s not go there since it’s just after New Year resolution time and I’m still under the gloriously incorrect impression that this is the year I may finally stay away from delicious “extra’s” like snack foods other than celery sticks. Haha, just kidding, no way am I passing up an O’Henry for veggies…I’m trying to get healthy, not go crazy!

All in all, these bars do at least have a little nutritional value what with the cereal and peanut butter, right?? And you could totally change it up and use Nutella spread on top or organic peanut butter or whatever else you health-conscious mind needs to justify this delicious snack. As for me and my house, we will stick with the original and I will add salad to my dinner meal plan for the week 😉 I’ve said it before but, seriously, life is about balance. The happiness gained from enjoying these bars offsets any guilt-about-snacking imbalance, trust me!

O’Henry bars are so simple to make and so addictive to eat, you are sure to love them. Only a couple tips with this post… First, make sure you use your favorite brand of peanut butter and good morsels of chocolate and butterscotch. I know it’s tempting to buy the off brand version to save a couple bucks but trust me, the end result will not be the same! Second, feel free to use off brand cereal and corn syrup. After many, many taste tests, those ingredients seem to have barely distinguishable effects on the end product’s taste! Third, melt and mix and spread thoroughly..lumps and dry pieces and too thin of a top layer have no place in this recipe!

Last, and most important, make sure to label them as O’Henry Bars and pass along the recipe as such. As a Northeast Nebraska small town girl at heart, there is simply no other name appropriate. Scotcheroos sound like a joke whereas Mr. O’Henry‘s bars demand respect! Also, I love it when people are confused by the name and then realize these are basically scotcheroos only sooooo much better. All joking aside, I hope you enjoy this recipe!!!

O'Henry Bars

  • Servings: Approximately 16 bars total
  • Print

Deliciously simple staple recipe for a go-to batch of bars!

Ingredients

-1 cup white sugar

-1 cup light corn syrup

-1 teaspoon vanilla extract

-1 cup peanut butter

-6 cups Rice Krispies

-1 cup chocolate chips

-1 cup butterscotch chips

Directions

1) Add sugar and corn syrup to pan and heat over medium high heat while stirring until the mixture comes to a boil.

2) Remove pan from heat and add in peanut butter and vanilla, stirring well to combine.

3) Pour Rice Krispies into large mixing bowl and pour contents of pan over the top then mix all together well.

4) Pour combined mixture into 9×13″ sprayed pan and even out with spatula until fairly smooth and even on top and spread out to every side.

5) Melt chocolate chips and butterscotch chips together in microwave, stir every minute until combined and smooth.

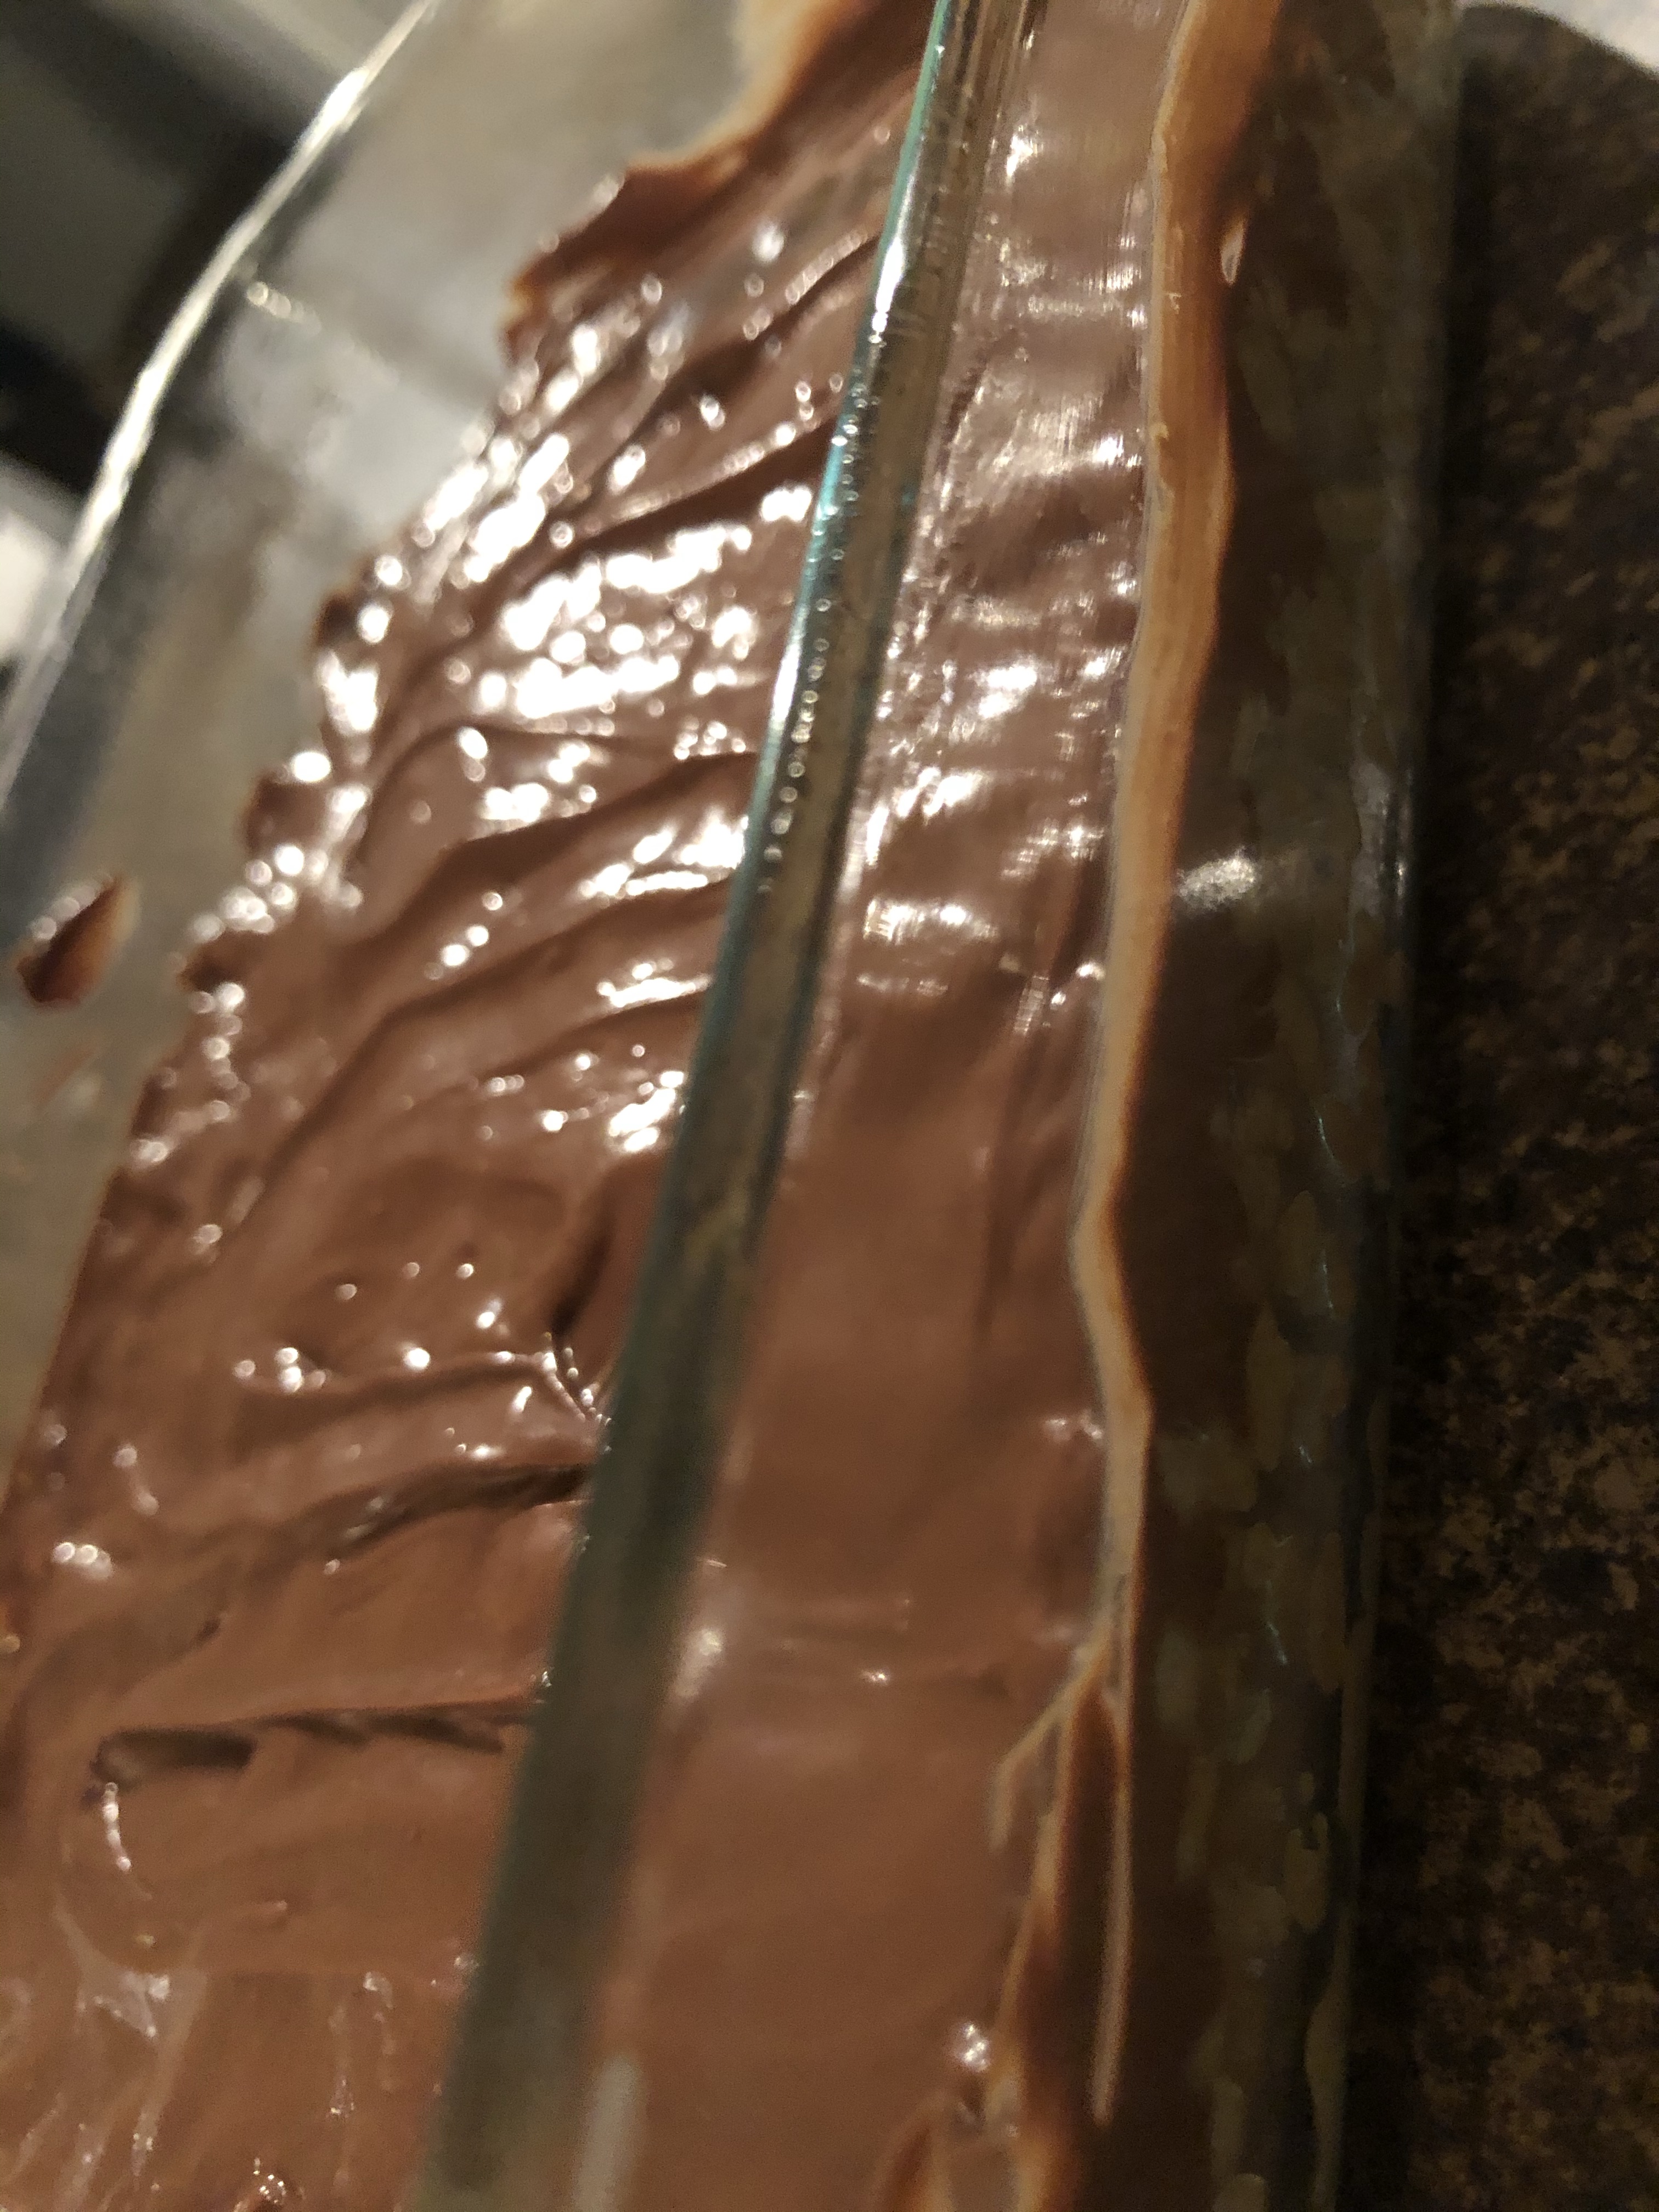
6) Pour chocolate mixture over cereal mixture in pan and spread evenly.

7) Cool pan in the fridge for approximately half hour until top is set then slice into bars and serve!

Simply Homemade: Tator Tot Casserole

My husband and I talked about this blog about a year ago and we jokingly said that it’s really a lifesaving cookbook disguised to the outside world as a blog. Let me explain…its a well known fact that my husband does not cook. I don’t mean this in a negative way whatsoever, there are so many things he excels at but cooking is (to put it mildly) just not his forte. When I’m not home to cook dinner he reverts back to his bachelor days and ends up eating a meal that’s about as nutritious as the packaging it comes in. Despite my best efforts, he is just not overly interested in learning to cook. I have said, on many occasions, that I seriously worry him and my daughter would starve if something were to ever happen to me. Don’t get me wrong here, I’m definitely not a doom and gloom type of person at all. But I am notoriously uncoordinated and accident prone so it’s really not out of the realm of possibility that I would somehow end up with a broken arm or two or something else that would prohibit me from cooking for an extended period of time. Did you hear that? Just me…knocking on wood…really hard!

Thankfully my daughter seems to be at least off-and-on interested in cooking and has picked up already on the regular spices I tend to use and what certain ingredients taste like. Hoping that she ends up at least attempting to make many of our family’s favorite dishes eventually. To be fair, I don’t make it easy on them to learn because I have, without a doubt, turned into my mother (and grandmothers) over the years. Meaning, I don’t ever measure anything or follow recipes. My husband is quick to use this as an excuse as to why he won’t try making any of my recipes because they won’t taste the same as when I do it. That’s been, by far, one of my biggest struggles with this blog so far. Actually paying attention to what (and how much) I’m adding and what the steps are has been incredibly challenging. I’m hopeful that between the two of them and this blog with step by step directions they may be able to prepare at least a few things I regularly make if the need were ever to arise.

If that makes sense but you’re reading this wondering why on earth I’d be talking about needing to know how to make this particular olden days recipe, I must confess this was a staple in our house growing up and is now an all-time favorite dish of my daughter. Whenever I beg for ideas on additions to the week’s meal plans, I can guarantee she will request tator tot casserole. Yes, my daughter who is borderline a vegetarian with her love of vegetables and fruit and her instant distrust of any dish with meat in it. She. Loves. This. Dish! And, in her mind, the only acceptable side to this dish is a big helping of steamed peas. Have I mentioned how unique my daughter is?? And, yes, I also know this recipe is again based on the dreaded “cream of _____ soup” base and that’s frowned upon in today’s health conscious society. I get that, I know I could substitute it and make a homemade version. But…my inner child (and my real life child) both prefer it the original way. My very wise cousin once said that this ingredient is basically a hug for your insides and she’s 100% accurate. It tastes like childhood and home and family and everything good in life.

To my loving husband and sweet child, this post is for you. To everyone else reading this, please give this homestyle casserole dish a try and it may just become as big of a hit in your house as it is in mine!

Tator Tot Casserole

  • Servings: Approximately 5
  • Print

Kicking it old school with this classic casserole!

Ingredients

-1 pound ground hamburger

-1/4 teaspoon pepper

-1/4 teaspoon salt

-1/4 teaspoon garlic powder

-1/4 teaspoon onion powder

-1/4 teaspoon steak seasoning

-1/3 cup milk

-1 (10.5 ounce) can cream of celery soup

-1/2 cup shredded colby jack cheese

-3-4 cups frozen tator tots

-sprinkle of seasoning salt

Directions

1) Preheat oven to 350 degrees and spray casserole pan with cooking spray then set aside.

2) Meanwhile, brown hamburger in large skillet over medium high heat and drain excess grease.

3) Add can of soup, milk, and all seasonings except the seasoning salt to the skillet and cook over medium high heat for 5 minutes, stirring often, to combine and heat through.

4) Pour contents of skillet into sprayed pan and top with shredded cheese, spread evenly over the top of the mixture.

5) Top mixture with tator tots spread over the meat mixture evenly then sprinkle lightly with small amount of seasoning salt over the top of the tator tots.

6) Cover pan with aluminum foil and bake, covered, for 30 minutes then uncover and bake additional 10 minutes until tator tots slightly browned and crisp.

A thin layer of cheese is sure to make this dish even more appealing to kids and adults alike!

Holy moly, I don’t know about you but this ratio and haphazard placement is just all wrong to me!

OCD, meet casserole. Casserole, meet my OCD!!! Judge me all you want, you know this is pretty AND will get you a bite of tator tot with every bite of hamburger 😉

Mmmmmm! Can you virtually smell this?!?

Simply Homemade: Baked Pork Chops with Gravy

If this title doesn’t scream ‘COMFORT FOOD’ at you then I don’t know what will. I grew up enjoying this dish regularly during the cold winter months and have kept the tradition alive with my own little family. There’s just something innately comforting about a dish that warms you from the inside out. It’s fork-tender and hearty with a delicious home cooked taste. One of the best parts of this dish is how incredible it makes your kitchen smell while it’s baking! So get your pork chops and your taste buds ready, I’m about to walk you through making this traditional comfort food dish!

Step one, pick your pork. Make sure it’s not a thin cut pork chop or your baking times will need to be adjusted. I would recommend an original cut pork chop. To go bone-in or boneless? Either way works just fine so no need to panic on this question. Personally, I like the boneless option mostly for laziness’ sake but totally up to you! Now, onto the cream of something soup…so many choices!?! Don’t worry, this recipe is versatile so you can honestly choose your favorite. The original recipe calls for cream of chicken soup which sounds odd since it’s based on pork but I promise it’s incredible! Have no fear if you’re out of that, you can easily substitute with cream of mushroom or celery or even make your own homemade substitution if you’re wanting to improve the health factor here. Honestly, I have yet to try that last option but I do know from other people that it supposedly works. For me, this recipe is about ease and taste, not healthiness, so I make it the old fashioned way 😉

What, oh what, will pair with this rockstar entree as a side dish? These come out of the oven fall-apart-tender and covered in a delicious (note: I did not say healthy…but I will reiterate, delicious) gravy. So I would recommend serving this dish with either some creamy mashed potatoes or fluffy rice so you can serve the extra gravy on top of the side dish as well. Most any type of vegetable will work well with this. We grew up eating it mostly with steamed corn because my parents grew sweet corn during the summer and we always had extra that mom would freeze for another day. There’s just something about having fresh sweet corn during winter that makes it taste even better! Nowadays I let my daughter have dealer’s choice on most of our veggies so we have enjoyed this dish with peas, green beans, edamame, broccoli/cauliflower/carrots, etc. She’s a huge fan of vegetables in case you can’t tell 😉 Since this is clearly not a diet-friendly dish, you might as well add in some buttery dinner rolls or bread to soak up the last bits of flavor from your plate 😉

However you tweak this and whatever you decide to serve it with, I hope you make this dish and find is as comforting and delicious as we do! Enjoy!!!

Baked Pork Chops with Gravy

  • Servings: Approximately 6
  • Print

Simple comfort food recipe that yields fork-tender and deliciously satisfying results!

Ingredients

-6 pork chops, trimmed

-1 tablespoon vegetable oil

-1 teaspoon salt

-1/2 teaspoon pepper

-1/2 cup flour

-1 cup water

1 teaspoon chicken soup base

-1 can cream of chicken soup

Directions

1) Preheat oven to 350 degrees.

2) Put tablespoon of vegetable oil in an oven safe skillet and heat over medium high until very hot.

3) Meanwhile, mix the flour, salt, and pepper in a shallow container and dredge each pork chop to coat in the mixture.

4) Carefully cook the flour coated pork chops in skillet until they are slightly browned on each side, approximately 8 minutes total.

5) Remove the pork chops from your skillet and set off to the side. Add water into skillet along with chicken soup base and cream soup to combine and cook together for approximately 5 minutes.

6) Add pork chops back into the skillet and coat with the gravy mixture then cover the skillet with a lid or aluminum foil and place in oven.

7) Bake for 1 1/2 hours then remove and uncover. Serve with extra gravy over rice or potatoes!

1 3 4 5 17