Recipe Posts

Simply Homemade: Mom’s Banana Cake with Grandma’s Brown Butter Frosting

Many of you know that I am a very firm believer in the importance of family. My family is very close knit and I couldn’t love them more. But (yes… there is a but) that’s not to say our family doesn’t have its quirks. When I started this post idea I couldn’t help but think of the little quirks brought to light by this very dessert. So, before we dig into the deliciousness of this super soft banana cake with indulgent brown butter frosting, allow me to I introduce you to some of our quirkiness!

For starters, one of my older sisters has the audacity to dislike this dessert. Once you try it, you will be right there with me I’m wondering just what kind of disease her taste buds may be afflicted with to NOT love this cake. To be fair, that particular sister was born with the predisposition of absolutely despising anything and everything with bananas. I’m talking spit-her-baby-food-out-before-the-banana-hit-her-tongue kind of loathing. Thankfully for her, all is not lost with this recipe as the brown butter frosting portion is (almost as) equally delicious on other delightful dessert concoctions such as pumpkin bars. If she didn’t like the frosting we would have had to vote her off our sibling island for sure 😉

Next, let’s talk about another sister who loves every part of this dessert except one crucial ingredient..the nuts on top. Luckily for her, she’s the baby of the family and therefore always got part of this cake frosted without nuts on top. Unluckily for her, that made it oh-so-easy for the rest of us to tease her mercilessly about her aversion and the obvious favoritism involved for specially making this “her way”. Keep in mind that this recipe doesn’t need to have nuts on top but I personally feel that anyone who prefers it without them is nuts (sorry sis!).

One more family quirk brought to light anytime we enjoy this dessert is that of my dad. Similarly to the first sister mentioned, he was born with this condition. That is…being ornery and unable to stop himself from making others around him smile/laugh. Also similar to my second sister mentioned, he was treated to a bit of favoritism being the only boy surrounded by sisters (and a twin to boot!). His parents and siblings really had not choice other than to let him have his way, right? His quirk is that he can’t seem to help himself from cutting the first piece of cake unlike anyone I’ve ever seen. His favorite method is to cut a piece from anywhere in the middle of the cake, never on the edge or in a corner. His next favorite is to cut a piece in a shape that will undoubtedly spiral into a bunch of other random pieces (a circle or a star preferably).

Do any of you who have blasphemous food quirks like these? I sure hope it’s not just me and my crazy wonderful family 😉 Now, to give credit where credit is due, my grandma Joan brought this frosting recipe into our family while my mom brought the cake recipe. The combined marriage of the two recipes into one resulted in this being yet another instant family favorite. Meanwhile, the continued use of this recipe marriage resulted in the aforementioned family quirks coming to light. All in all, it was a fair trade to gain a new amazing recipe and to also have new material to tease a few family members about. It is my hope that each of you who tries this also finds a quirk in someone you love and that you treasure both that person and their quirk(s). Enjoy!

Mom's Banana Cake with Grandma's Brown Butter Frosting

  • Servings: 24
  • Print

Whether you enjoy both parts of this recipe as one delicious dessert or make one of them individually of the other, you are bound to enjoy!

Ingredients

    Cake:
  • 1/2 cup butter or margarine (stick)
  • 1 1/2 cups sugar
  • 2 eggs
  • 1 cup banana pulp (overripe bananas work best)
  • 1 teaspoon vanilla extract
  • 1/3 cup milk plus 2 tablespoons vinegar plus 1 teaspoon baking soda
  • 1/2 teaspoon salt
  • 2 cups flour
  • Frosting:
  • 3 cups powdered sugar
  • 3 tablespoons milk
  • 1 teaspoon vanilla extract
  • 1/2 cup butter (stick)
  • 1/2 cup chopped pecans or walnuts

Directions

1) In small bowl, add milk and vinegar and baking soda and set aside.

2) Preheat oven to 350 degrees and spray a 9″x13″ pan so it’s ready.

3) Add butter/margarine and sugar into bowl of mixer and beat on medium until creamed (combined well).

4) Add eggs and vanilla extra to mixer bowl and beat on high until mixture appears almost fluffy.

5) Add in banana pulp to mixture and beat until combined evenly and no lumps of banana pulp.

6) Next you will add half of the milk mixture that you set aside earlier and mix then add half the flour and mix then the other half of the milk mixture and mix then the last half of the flour and the salt and mix it all together.

7) Pour batter into greased 9″x13″ pan and place into preheated 350 degree oven to bake for 35-40 minutes (until toothpick inserted into middle of cake comes out clean).

8) Remove from oven and set aside to cool while you whip together the frosting.

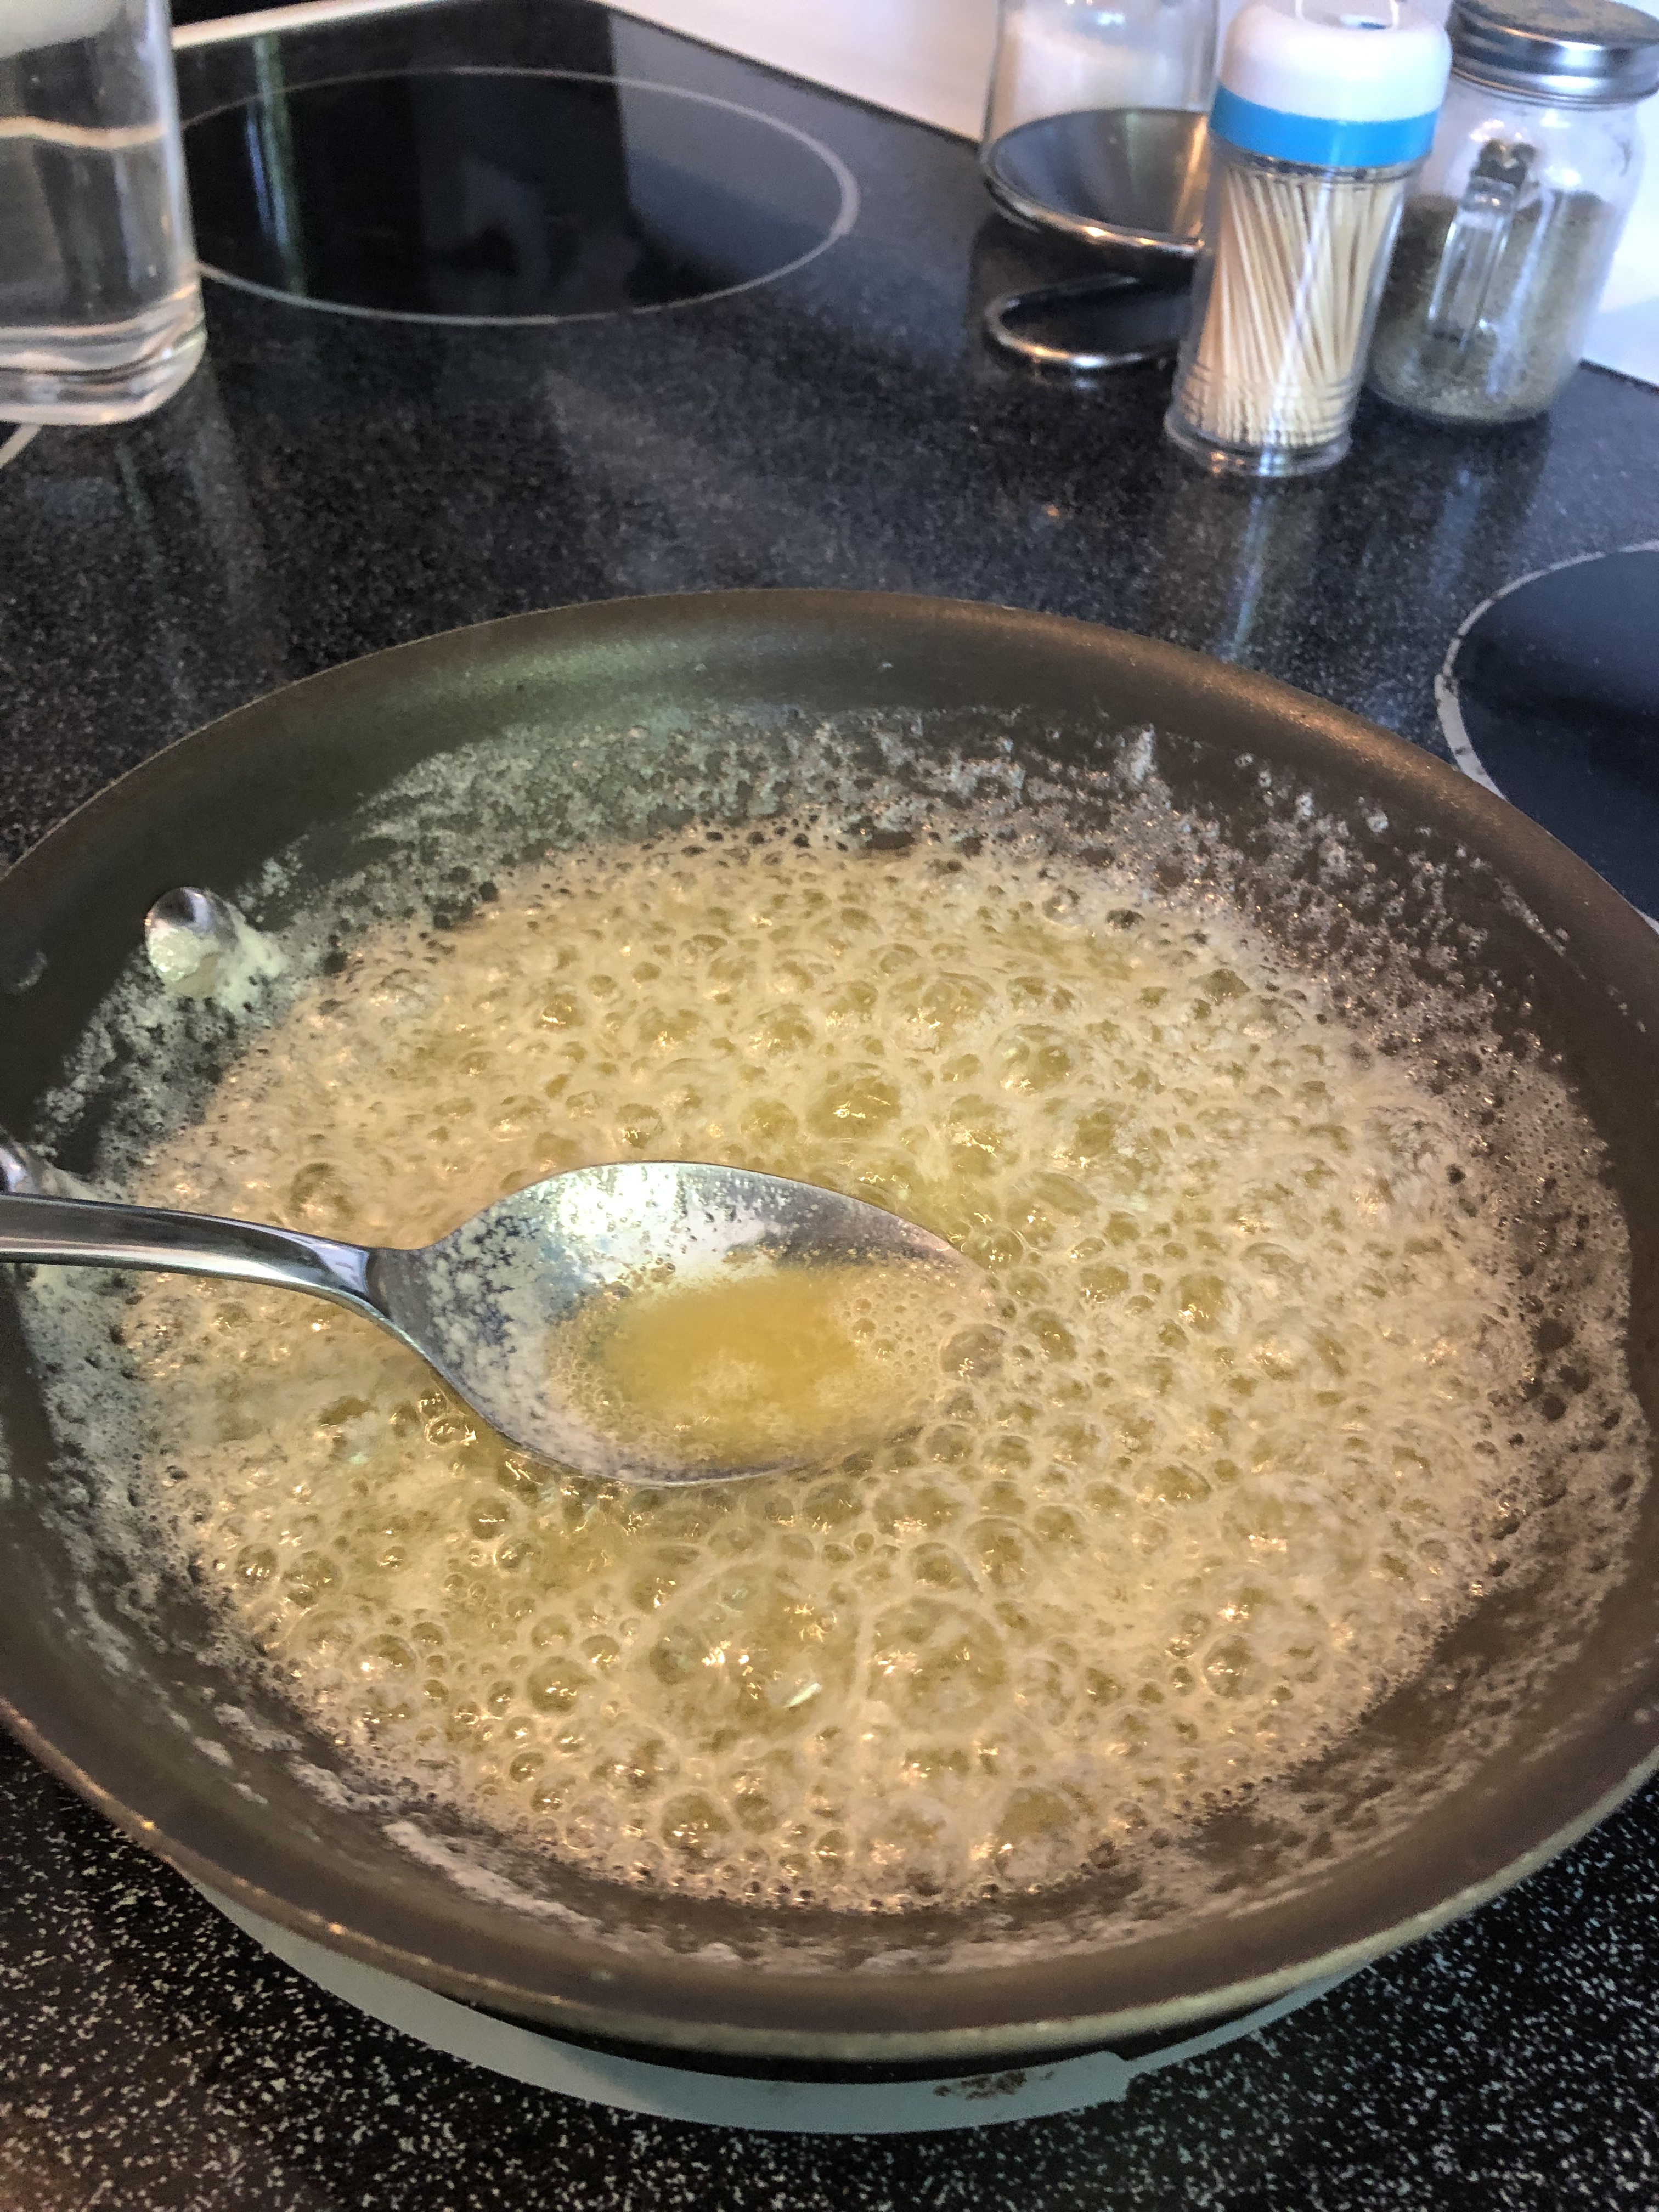
9) In a small saucepan, melt the stick of butter over medium heat.

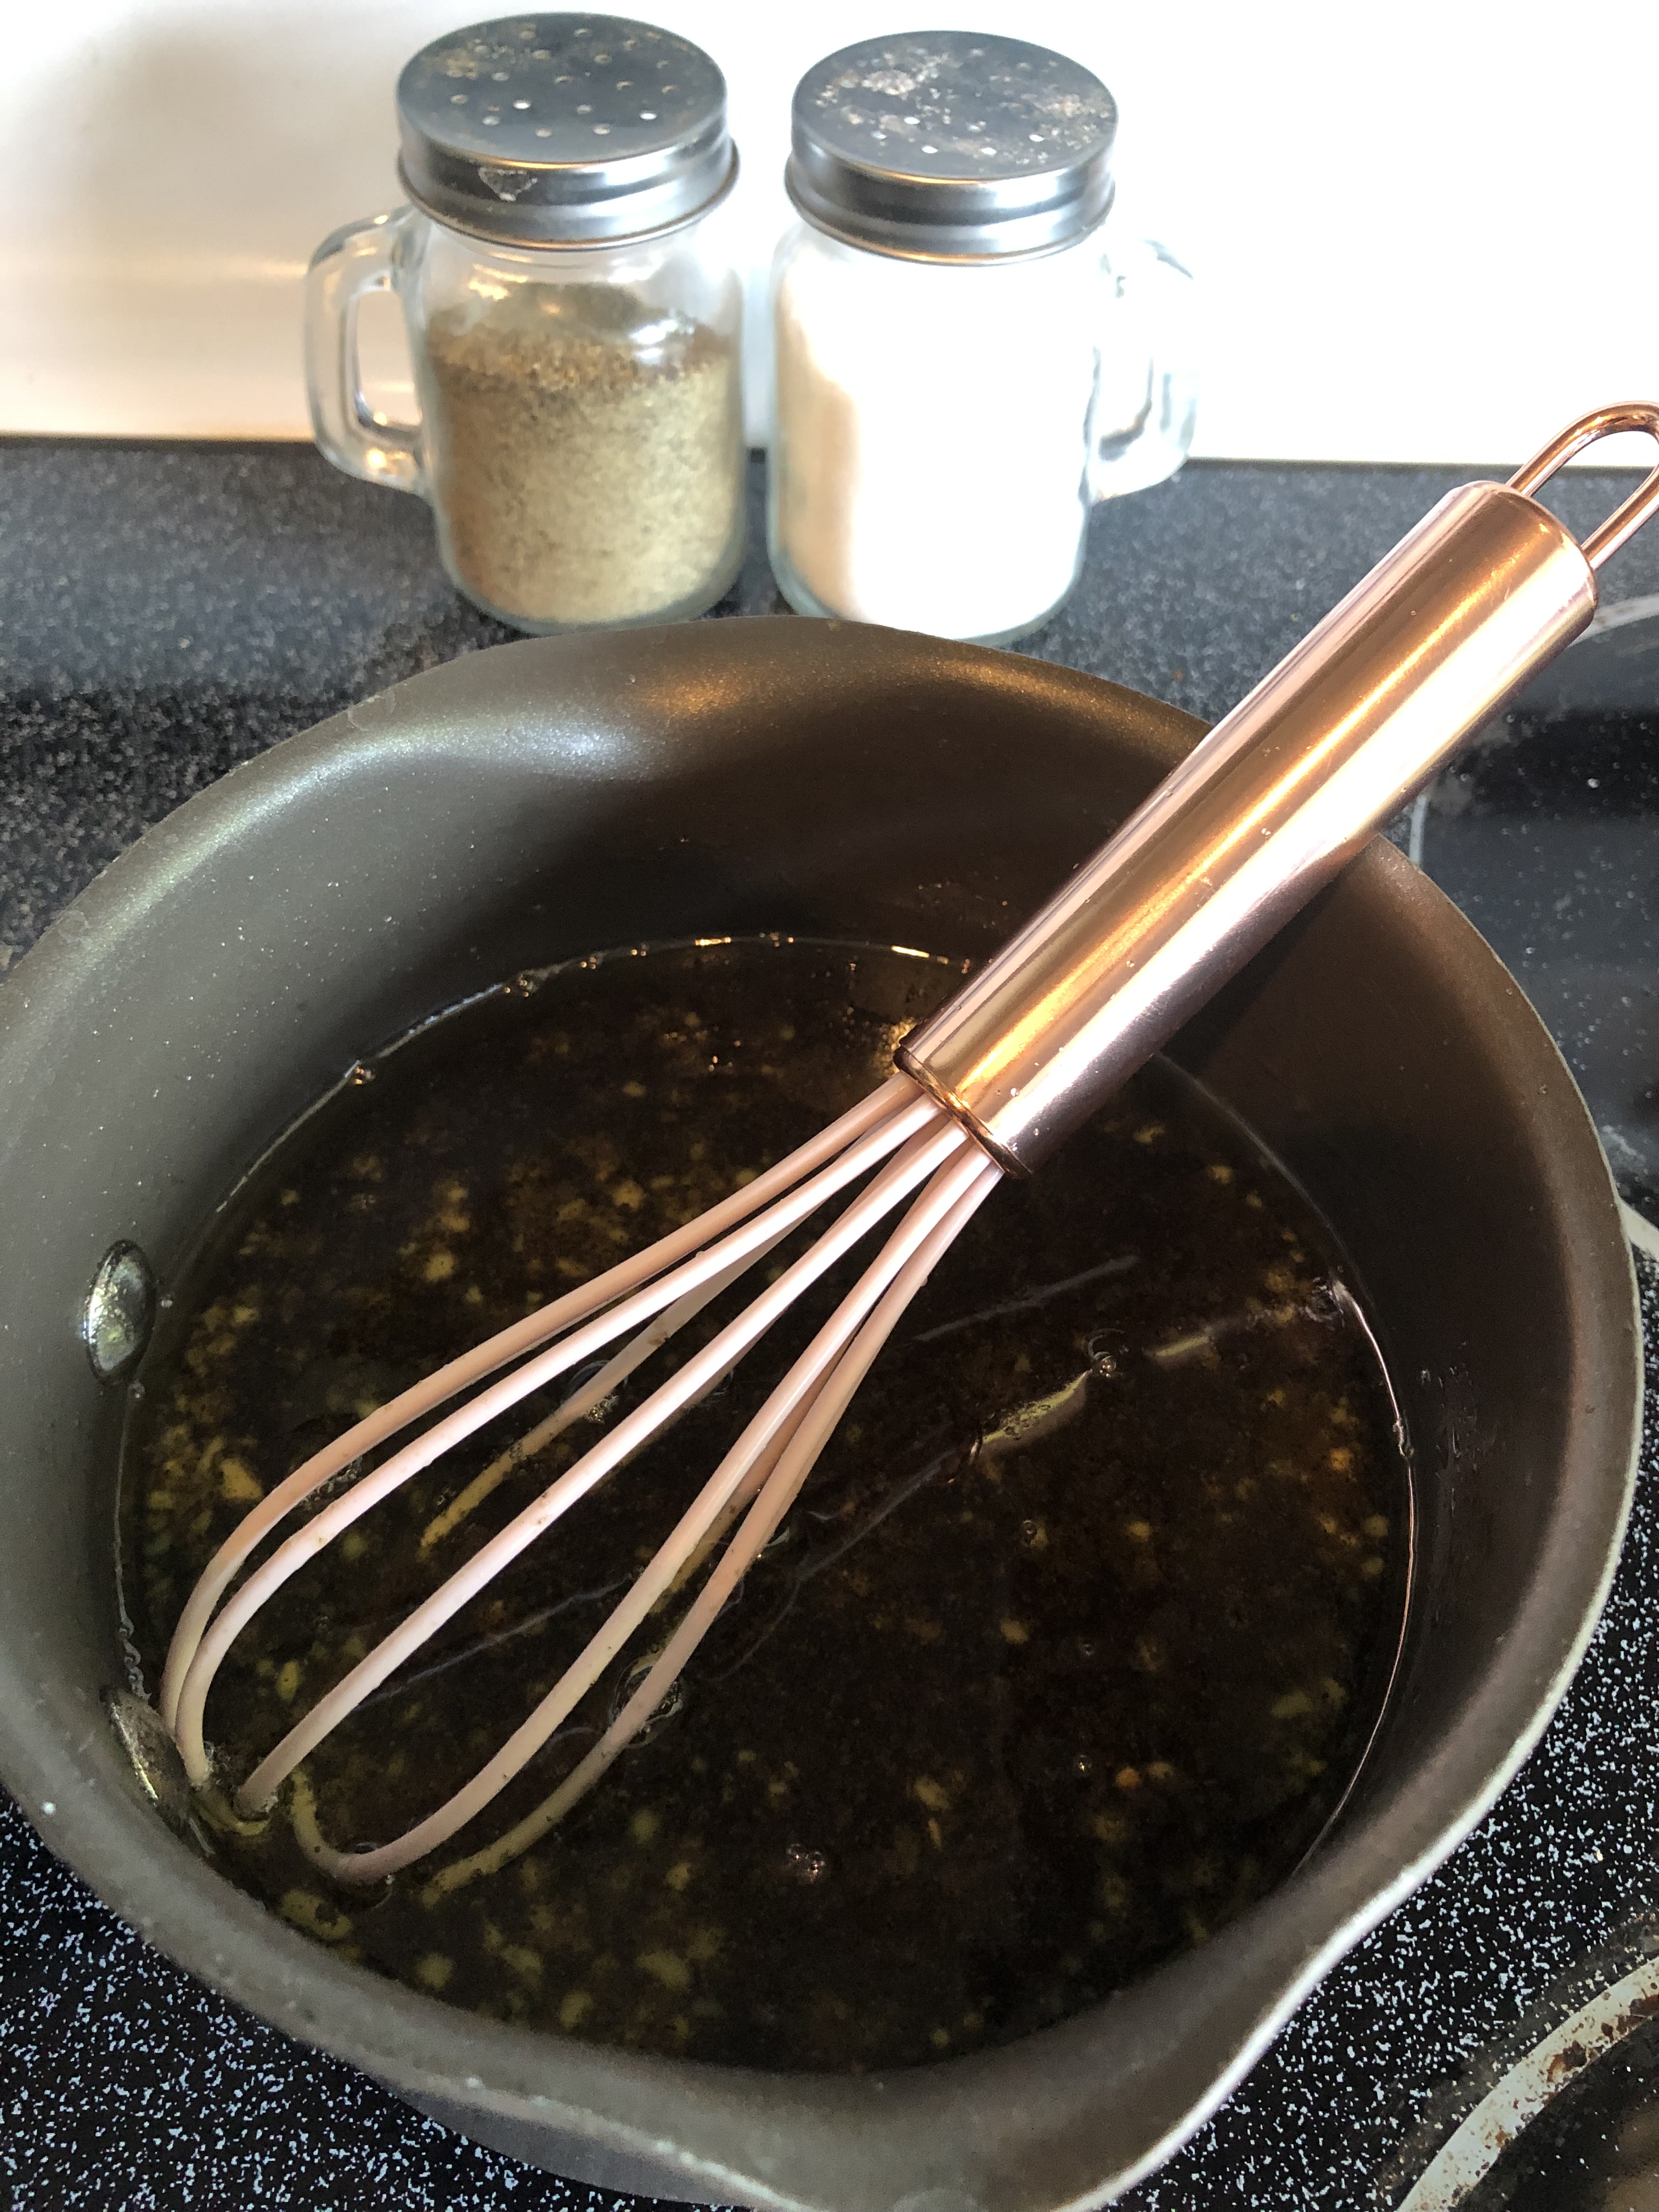
10) Continue heating butter while it changes from yellow to golden to light brown in color and remove from heat only when it’s browned.

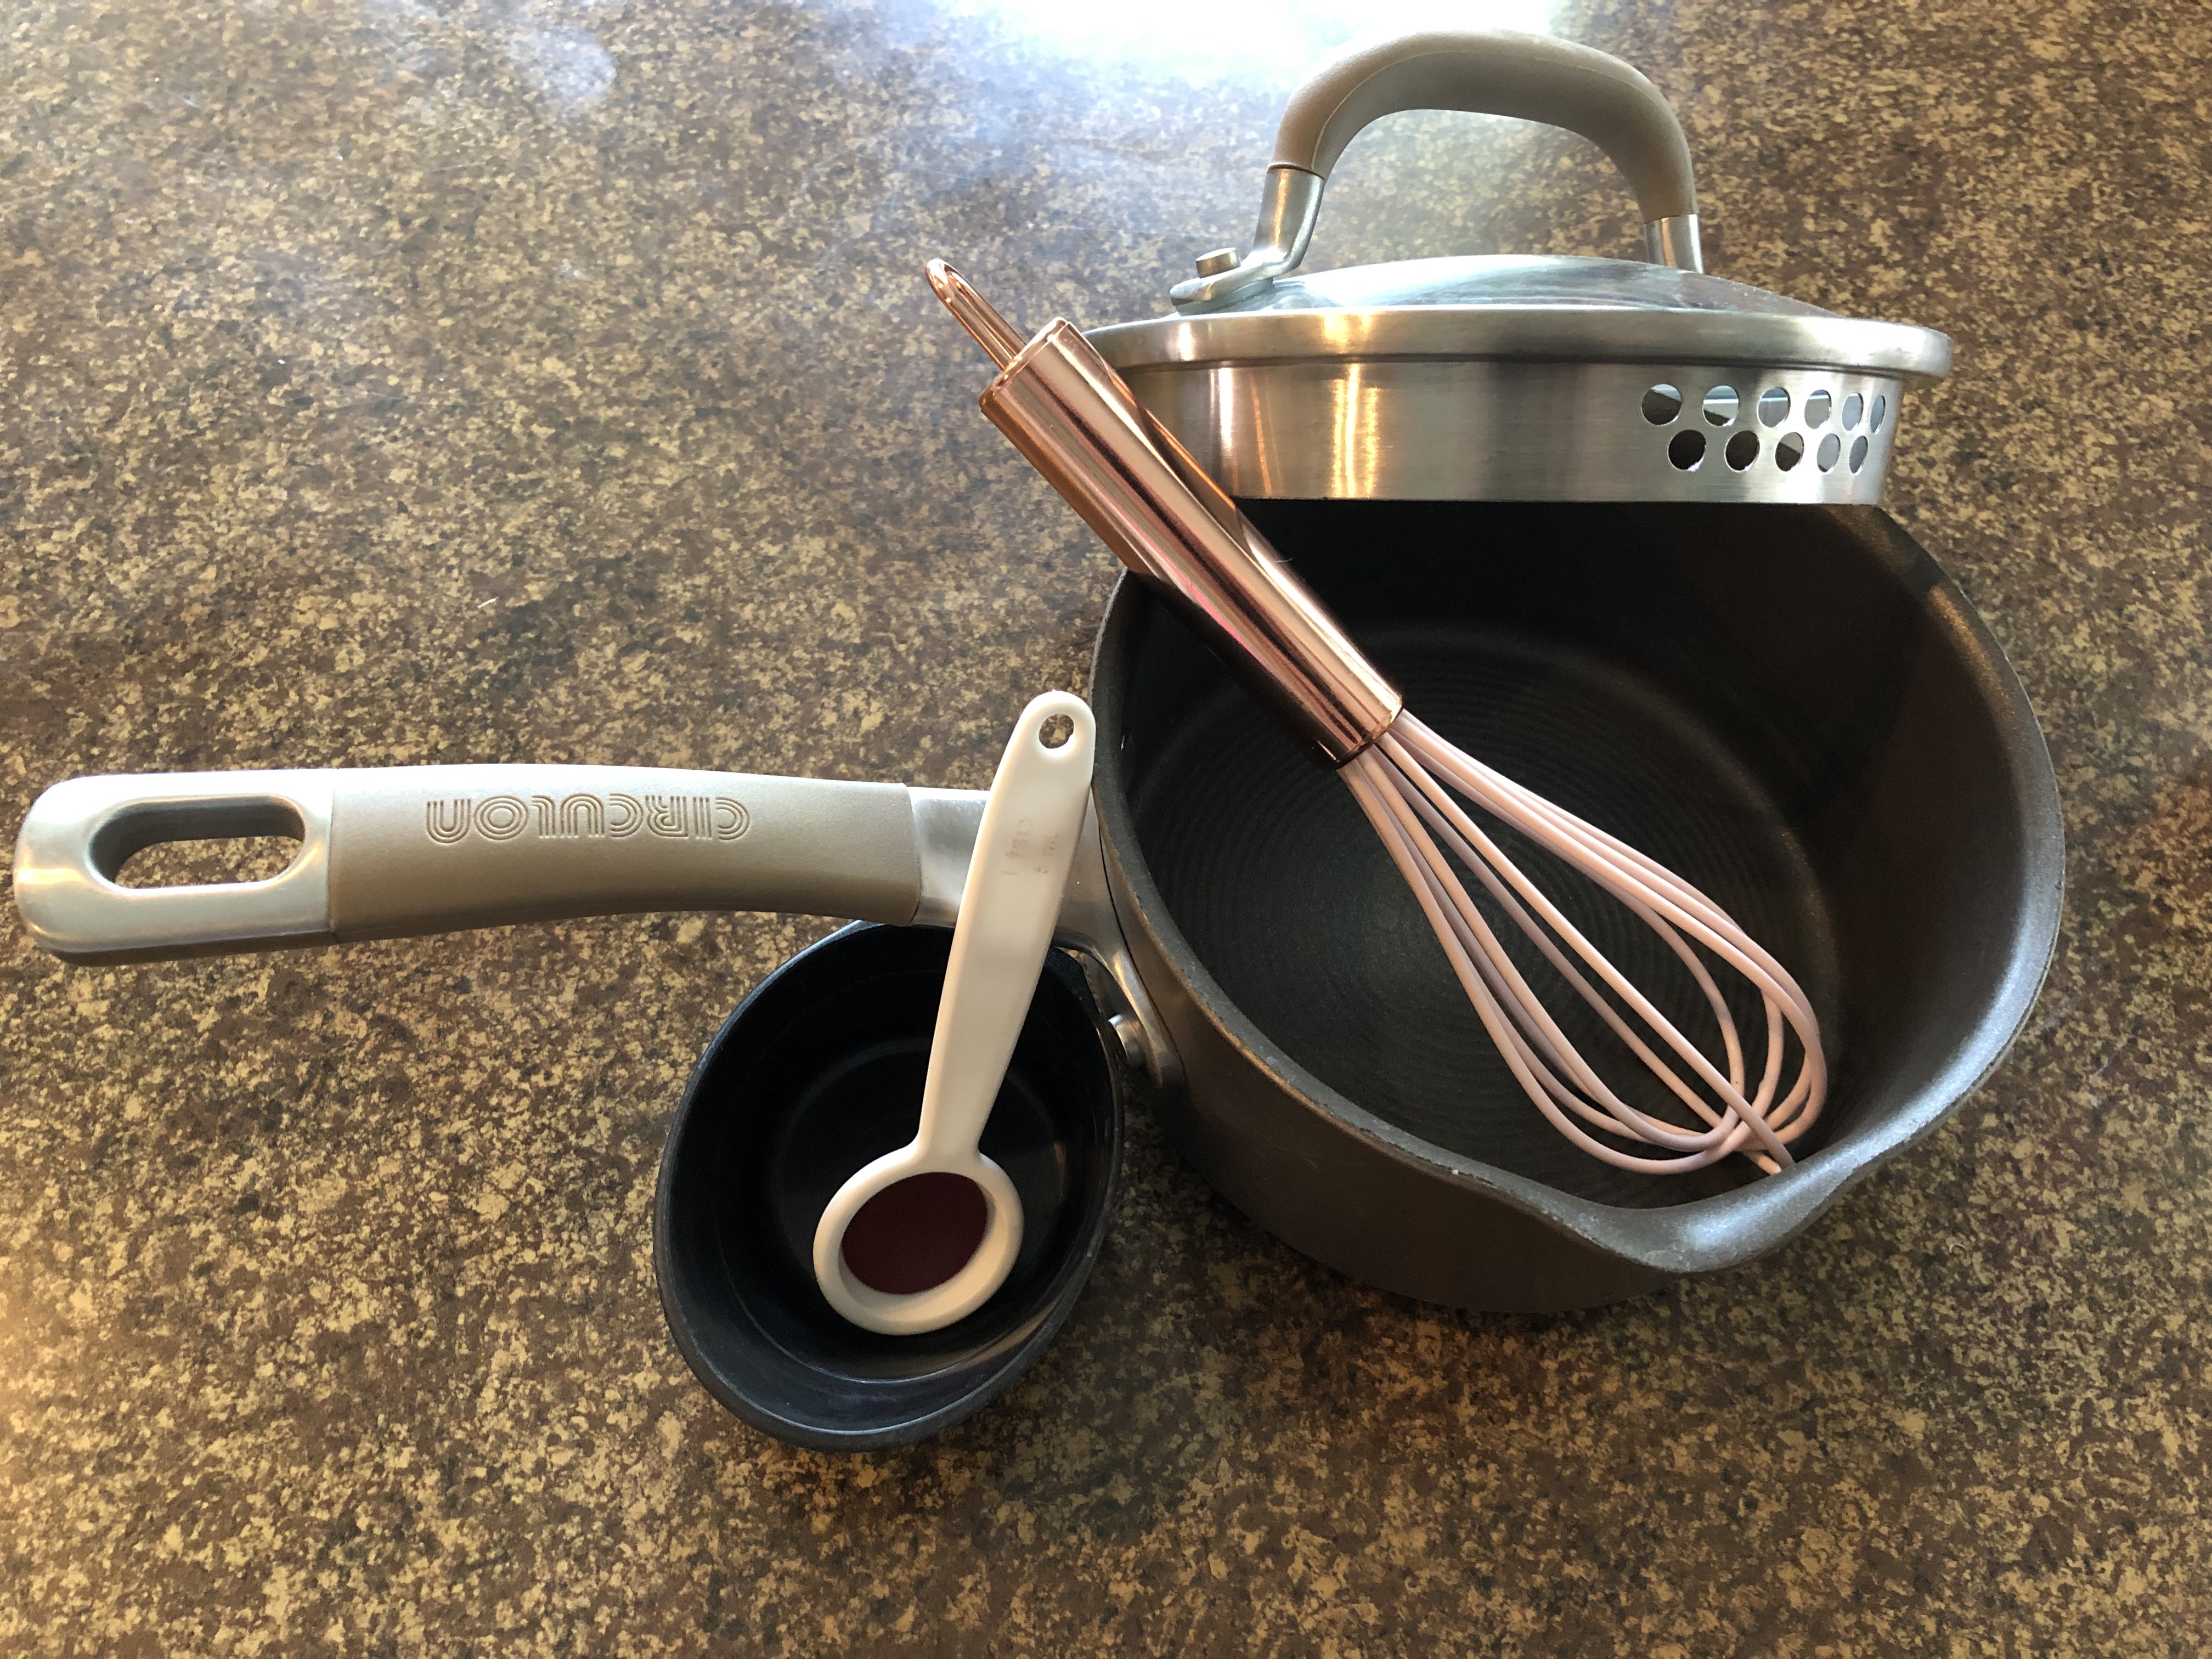
11) Set aside saucepan with butter to cool and, in separate medium mixing bowl, combine the remaining frosting ingredients.

12) Add browned butter to the frosting mixing bowl and stir well to combine until it’s smooth.

13) Spread frosting evenly over cooled cake.

14) Top with pieces of pecans or walnuts and enjoy!

Step 1 to brown the butter: melt stick o’ butter…
Step 2: stir and watch closely as color transitions from yellow to golden…
Step 3: continue stirring and monitoring closely as color transitions again from golden to light brown then take it off the heat because your butter be browned!
Are you hungry yet???

Simply Homemade: Texas Caviar

Do you ever have a recipe that is introduced to you and it’s an instant favorite? All the sudden it’s your go-to potluck recipe, the one you make when you have people over for dinner, and the one you have a screenshot of on your phone because someone inevitably always asks for it when you make it (and share). I will be honest here and say I’m not entirely sure who found and introduced this version of this recipe to my family. I will also be honest and say that I sincerely love whoever that angel was/is. In the spirit of honesty, I can’t begin to tell you how many times I’ve made this recipe nor can I say how many versions of it my family has devoured over the years. None of that is relevant, the important thing here is that I’m now sharing this family fave with all of you!

This recipe may seem intimidating to some of you because of the length of the ingredients and/or the chopping involved. Let me assure you upfront. It. Is. Worth. It! Also, there are workarounds here if you think with a simplifying kind of mind 😉 For example, if you are a huge fan of cucumbers but not so into peppers, go ahead and double one and remove the other (shorter ingredient list AND final product more to your liking!). Or, love all the veggies included but don’t love to chop your life away? Invest in one of those handy kitchen choppers so you can wash the veggies and just have to do a super rough chop so they fit in your handy dandy chopper. Let’s be real, who the heck cares if your knife cuts are precise and perfect? Real life is soooo not Food Network!

What if you don’t care about any of that but you just don’t see the sense in buying all that stuff for one recipe? Let’s revert back a few posts and revisit that whole simplifying meal planning thing. Hmmm..what could we do with those rough chopped peppers and onions that didn’t go into the kitchen chopper for this recipe? Just add chicken for some delicious kabobs? I think yes! What about making a half batch of this Texas caviar recipe and using almost all the leftovers for a Tex-mex rice bowl with all the fixings? For those of you who haven’t done this, take a couple minutes to make rice then add in the leftover cilantro once the rice is cooked. Top with warmed up leftover black beans and quickly slice and sauté the leftover peppers and onions. Put some grilled chicken or steak or shredded pork on top with salsa and sour cream and voila! You’ve got yourself a meal that is totally different than what you bought these ingredients for in the first place.

If you aren’t convinced that this recipe is worth making by now then I suggest you start re-reading because you must have missed something. It’s a beautiful and versatile (not to mention healthy) dish that can be served with chips or eaten by itself as a salad. This has been a staple in my family for years and I hope that it is one for you and yours as well, enjoy!

Texas Caviar

  • Servings: Approx 12
  • Print

This recipe can be eaten as a salad or as a dip with chips but, whatever way you choose to enjoy it, it is delicious!

Ingredients

  • 1/2 cup vegetable oil
  • 1/2 cup apple cider vinegar
  • 1/2 cup white sugar
  • 1 teaspoon salt
  • 1 teaspoon pepper
  • 1 teaspoon minced garlic
  • 1 can black eyed peas, strained & rinsed
  • 1 can black beans, strained & rinsed
  • 1 can white shoepeg corn, strained
  • 1 jalapeno, finely chopped
  • 1 cucumber, chopped
  • 1 bell pepper, chopped
  • 1 small red onion, chopped
  • 1 bunch cilantro, stems removed and chopped

Directions

  1. Measure vegetable oil, apple cider vinegar, sugar, salt, pepper, and garlic into small saucepan and bring to a boil over medium high heat, stirring occasionally. Set aside and let cool.
  2. Rinse and chop all fresh vegetables and cilantro and put into large serving bowl. Open, strain, and rince all canned items and put into same large serving bowl.
  3. Pour cooled dressing mixture from saucepan over vegetable mix in large mixing bowl and stir to combine well.
  4. Refrigerate for at least an hour and serve as a salad or as a dip with tortilla chips.

1/2 cup and 1 teaspoon are the only measurements you need for this recipe!

The dressing definitely won’t win any pageants but the rest of the recipe’s looks make up for it!

Ready..set..CHOP!

Kitchen chopper sacrifices some of the look of the finished product but makes it ready to eat faster so even trade off I’d say!

Buh-bye burning eyes from handling jalapeños!!!

In case anyone needs an excuse to purchase that adorable colander..this right here is a valid reason 😉

Look at all this fresh gorgeousness!!! Want to know the best part? It tastes delicious!

Simply the BEST: Mom’s Legendary Monster Cookies!

Legendary? For real? There I go again with the adjectives, right? Wrong! Ask anyone in my extended family, our friend circle, or any acquaintance within any of my siblings’ generation from my hometown and they will back me up. My mom’s monster cookies are legendary!!! 

This recipe is all thanks to my mom and the countless batches of these cookies she’s made for us over the years. That being said, I want to take a detour here and explain how this legendary recipe affected my husband’s relationship with me and my family. Any of you who have met my husband know that he can seem a bit shy when you first meet him. Any of you who really know my husband know that his true self will come shining through shortly thereafter 😉 For those of you who have never had the pleasure of meeting him, you have no idea what I’m talking about so let me tell you a story.

When I first started bringing my boyfriend-at-the-time-now-husband to my family gatherings he was beyond reserved. He came across as a sweet guy who was super polite and seemed to have taken a liking to me. I knew he was holding back and it was only a matter of time before his other amazing qualities came to light and my family saw why exactly I had fallen for him. After just a few times of him going back home to my parents’ farm with me, my mom started to pick up on his favorite foods. She has always had a tendency to make our favorite foods for us when we visit home and she’s taken that to an extreme level now that each of us have brought home future spouses. She wanted him (like each in-law before and after him) to feel right at home.

It didn’t take more than a few visits before he realized that she nearly always has a batch of these cookies either freshly made or hidden in the freezer. Almost equally as quickly, my mom noticed he seemed wayyyyy less reserved when the cookies were mentioned and, inevitably, passed around for all of us to enjoy. Soon, my sweet-tooth future hubby was not only taking multiple cookies before being offered, but even going so far as to ask about the whereabouts of the cookies himself. Eventually, the power of those cookies had my husband loosened up enough around my family that he felt comfortable enough to join in on the relentless teasing that is known as normal conversation to us.

Soon, my whole family began to realize this man was not nearly as shy as they first thought. He’s still the super sweet and polite guy they saw at first but he’s also now his normal hilarious, quick-witted, and smart self around them. I won’t lie here, I have little doubt that these cookies (along with the rest of the delicious cooking and baking of my family) sealed the deal with my husband falling in love 😉

Thankfully for our marriage, I found that the power of these legendary cookies extends past the boundary of my mom’s kitchen. Imagine my relief when I realized these cookies are actually simple enough that a notoriously failed baker such as myself can bake these delicious godsends! These cookies were a staple in our house when I was growing up, they are still a staple there when we visit home, and now I can make them a staple in my own house too. I can’t begin to tell you all the stories of these cookies but they include them being payment for work done, them being a midnight snack for family sitting around visiting late into the night, them being the core reason of relentless teasing about my perfectionist mom making sure exactly THREE M&Ms are visible on the top of each baked cookie (when I say each cookie, I mean EACH COOKIE of the thousands she has baked in her lifetime!). 

This recipe has been passed around to so many friends over the years that I thought it was only fitting to share with you all too! For those of you bakers, don’t panic when you scan this thinking I made a typo…there really isn’t any flour in this recipe! Now, go ahead and lose any reservations about making a full batch if this is your first time making this recipe. I halved it from the original which makes 4 dozen and believe me, you’ll regret not making at least 2 dozen after the power of these cookies has you falling in love after the first bite!

Mom's Legendary Monster Cookies

  • Servings: Approx 24 cookies
  • Print

Ingredients

  • 3 eggs
  • 1 cup brown sugar
  • 1 cup white sugar
  • 1/4 cup butter or margarine (stick)
  • 1 1/2 cup peanut butter
  • 1 teaspoon dark karo syrup
  • 1 teaspoon vanilla extract
  • 2 teaspoons baking soda
  • 4 1/2 cups quick (minute) oatmeal
  • 1/2 cup chocolate chips
  • 1/2 cup M&Ms (plus some extra for topping!)

Directions

  1. Preheat oven to 350 degrees.
  2. In a stand mixer bowl (or large mixing bowl if you don’t have the luxury of a stand mixer), mix the first the eggs, brown sugar, white sugar, & butter/margarine well to cream them and make sure there aren’t any lumps.
  3. Add peanut butter, vanilla extra, baking soda, and dark Karo syrup into that same bowl and mix well until combined.
  4. Next add in the oatmeal and stir well to combine.
  5. Finally, add in the chocolate chips and the M&Ms to mix those throughout the batter.
  6. Drop large spoonfuls of batter onto cookie sheet and make sure to leave room between as they’ll expand. Press down slightly and (if you want to channer my mom, go ahead and make sure there are exactly 3 M&Ms visible on the top of each perfect circle).
  7. Place cookie sheet into preheated oven at 350 degrees for 9-11 minutes.
  8. ***Hint: do not overbake these, they should look puffy and crinkled on top and just very lightly golden brown when you pull them out of the oven!***
  9. Remove from oven and let cool then ENJOY!!!!

Can you smell this from an online picture? Peanut butter & chocolate, oh my!
When the recipe says large spoonfuls and it’s called MONSTER cookies, you better believe this is how I scoop the dough onto the cookie sheet!
Shhhh….don’t tell my mom that I rarely follow her strict 3 M&Ms per top of the cookie rule 😉
Thought some of you may want to know what you’re looking for when pulling these legendary cookies from the oven…super light golden brown, puffy, & cracked tops!
Ladies & gentlemen, I give you…the finished product!
Side note – you’re lucky there are this many cookies in the picture as I had a few ‘helpers’ snagging them for “taste testing” purposes every time I turned around!